Overview
Uservox provides a built-in simulation environment that allows you to test your voice agents before deploying them to production. The simulation feature helps you:- Validate conversation flows
- Test prompt behavior
- Verify variable handling
- Simulate different customer scenarios
- Debug agent responses
- Test edge cases without making live calls
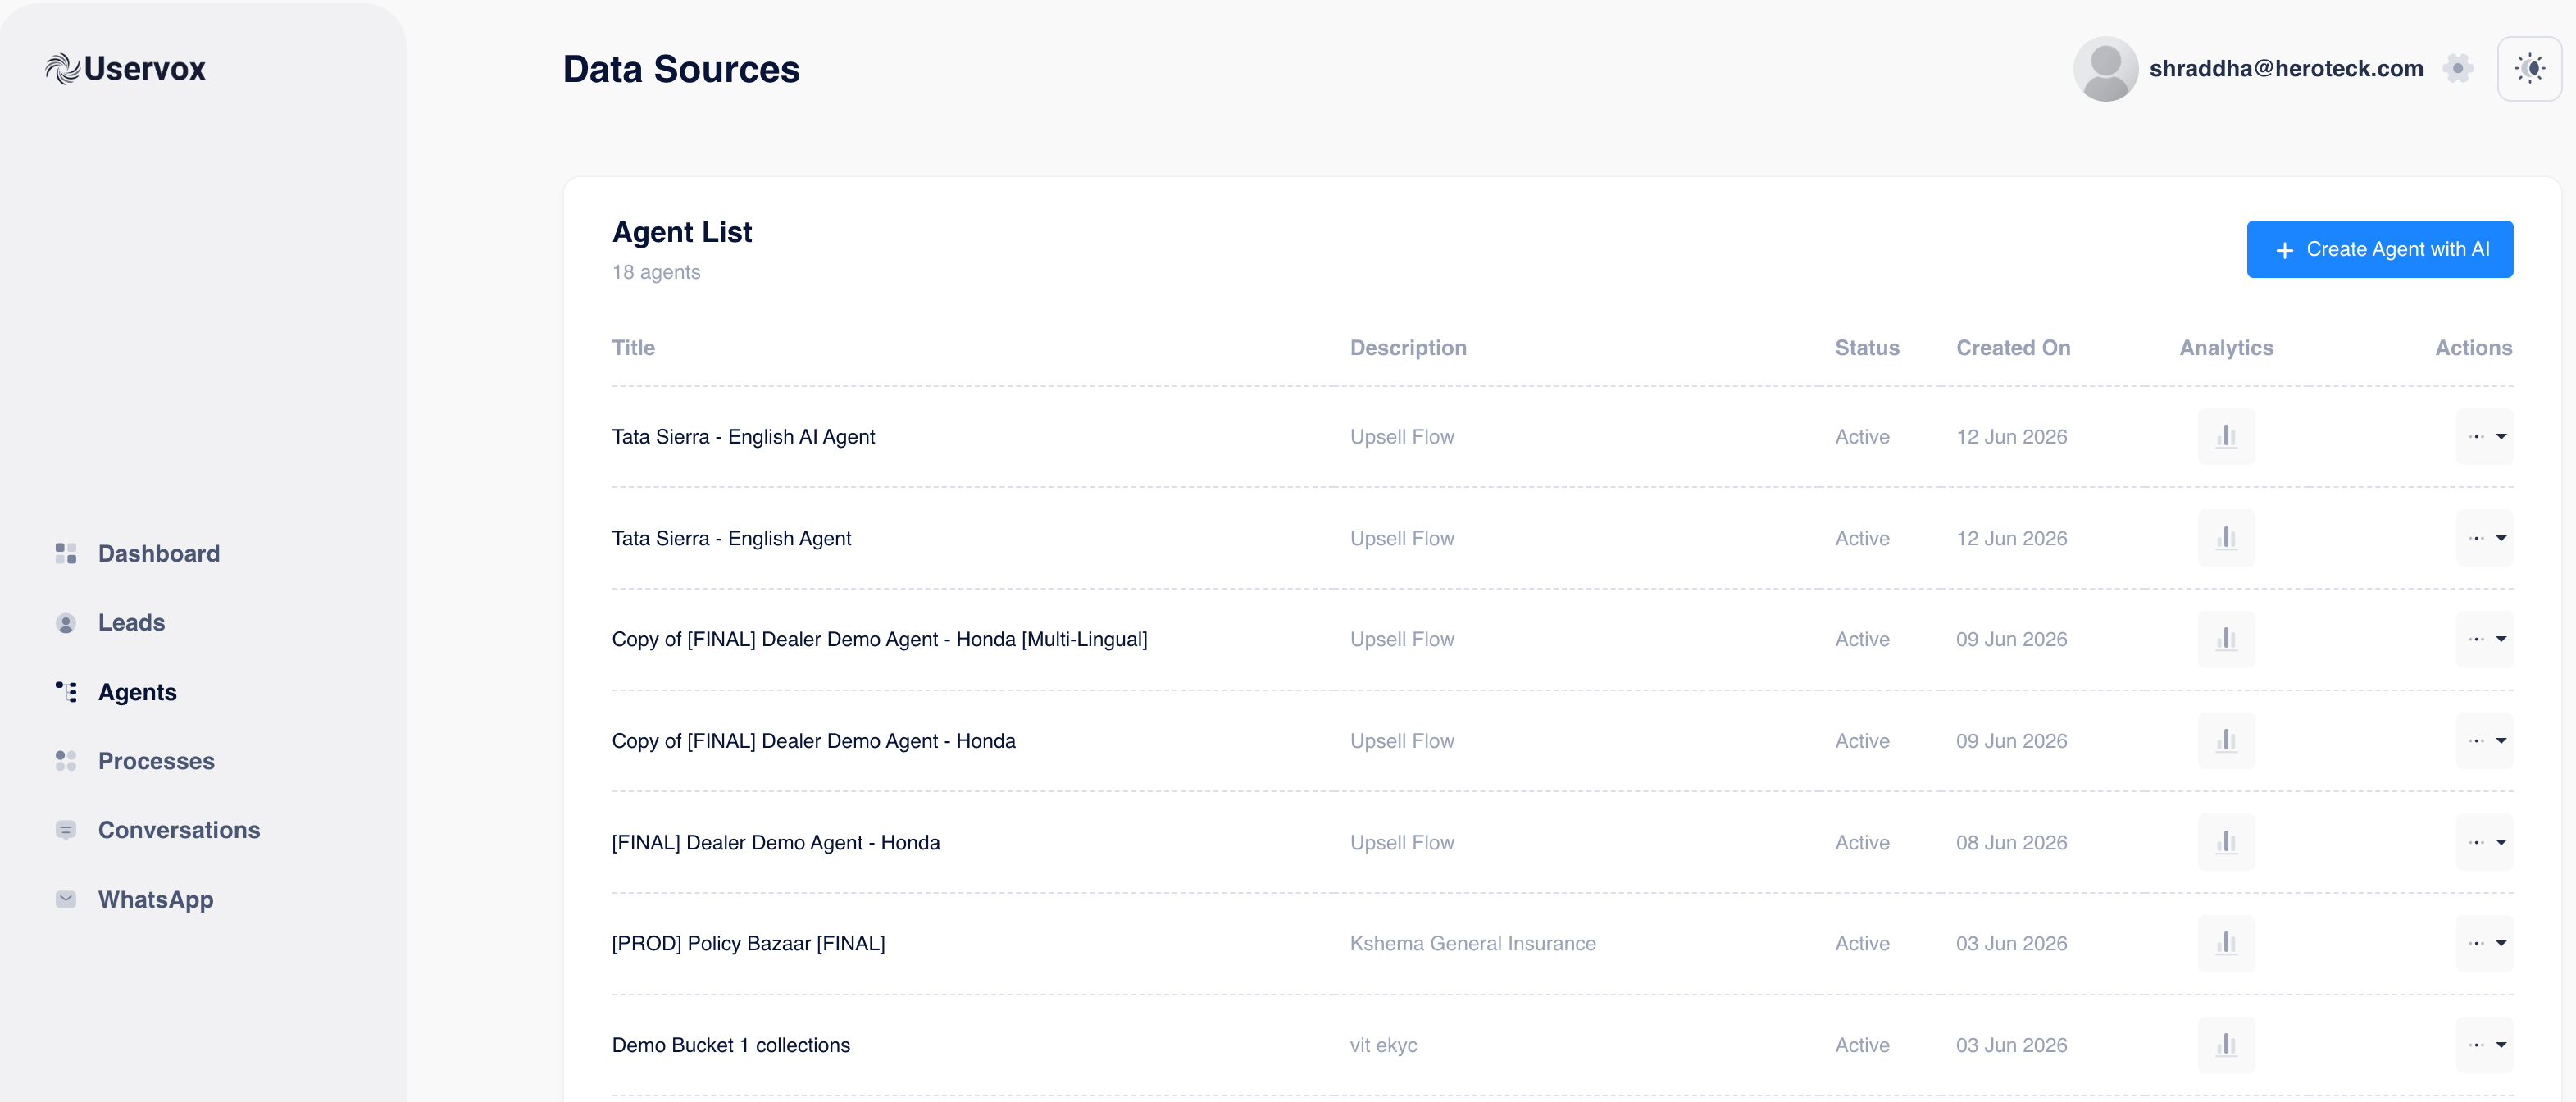
Step 1: Navigate to the Agent
- Login to Uservox.
- Click Agents from the left navigation menu.
- Select the agent you want to test.
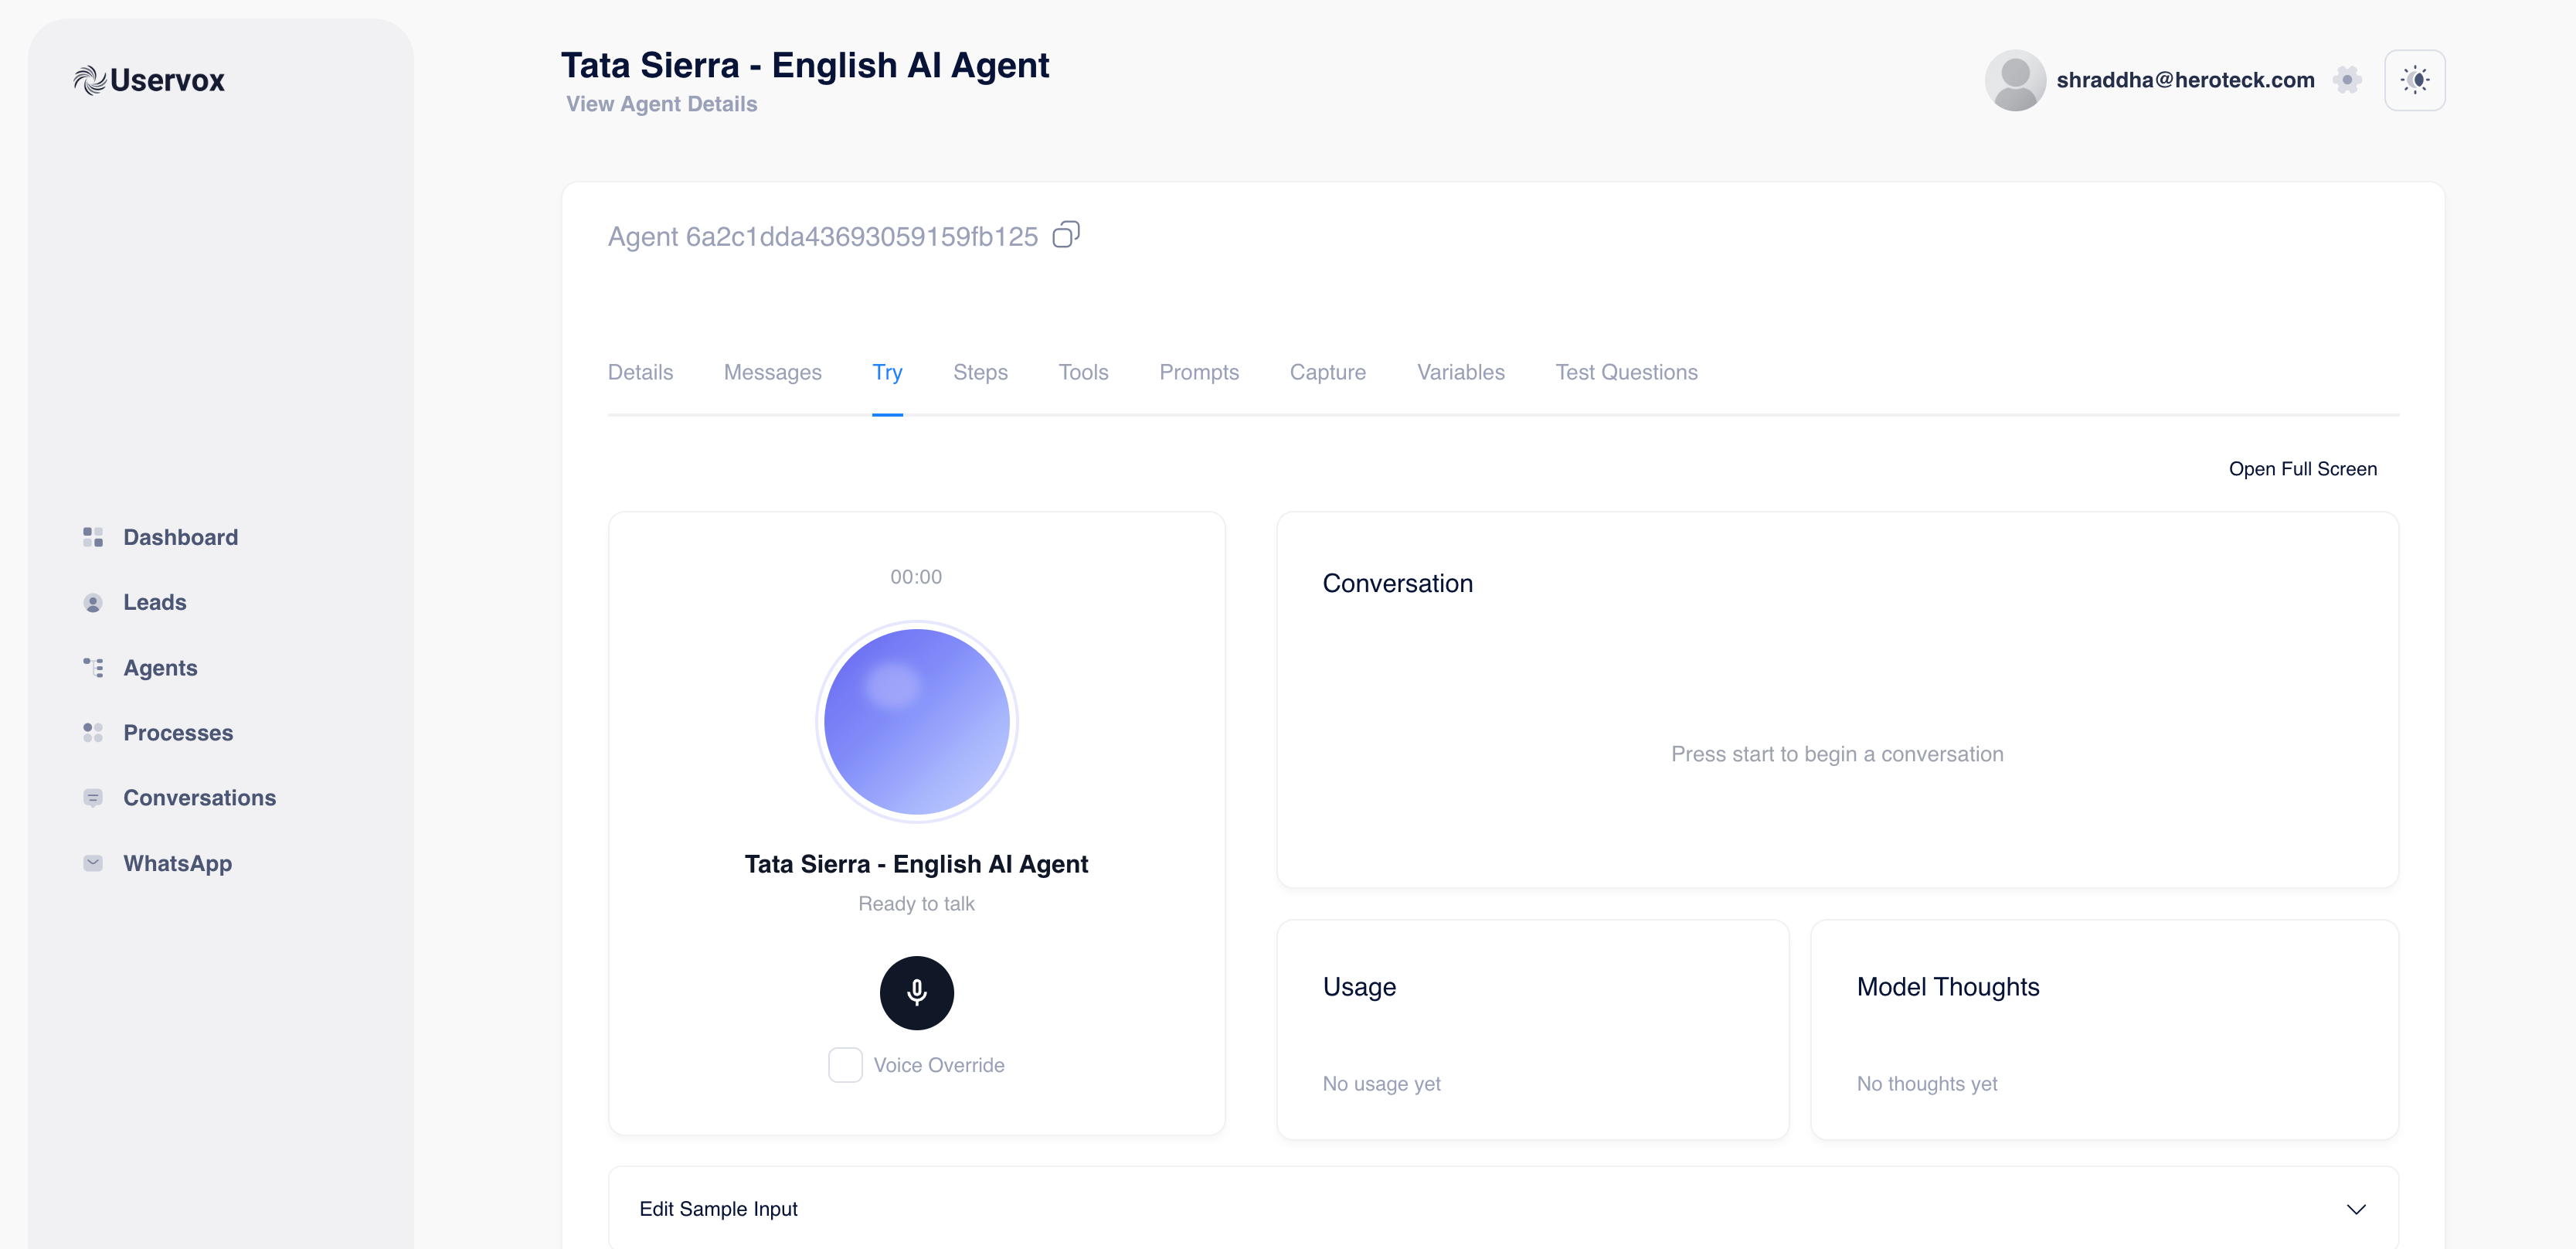
Step 2: Open the Simulation Screen
Inside the Agent Details page:- Click on the Try tab.
- The simulation screen will open.
Voice Interface
- Start conversation button
- Voice testing environment
- Voice override option
Conversation Panel
- Displays the complete conversation between the user and the agent in real-time.
Usage Panel
- Shows token and model usage.
Model Thoughts Panel
- Displays reasoning and internal execution details (if enabled).
Step 3: Configure Test Variables
Before starting a simulation, configure the variables that your prompt uses. Scroll to the bottom and expand: Edit Sample Input You will see a list of variables currently configured for the agent. Example:| Variable | Value |
|---|---|
| make | Tata |
| model | Sierra |
| city | Jaipur |
| hindi_name | Rahul |
| interested_models | JSON Object |
Step 4: Edit Existing Variables
To test a different scenario: Simply change the value of an existing variable.Example
Current: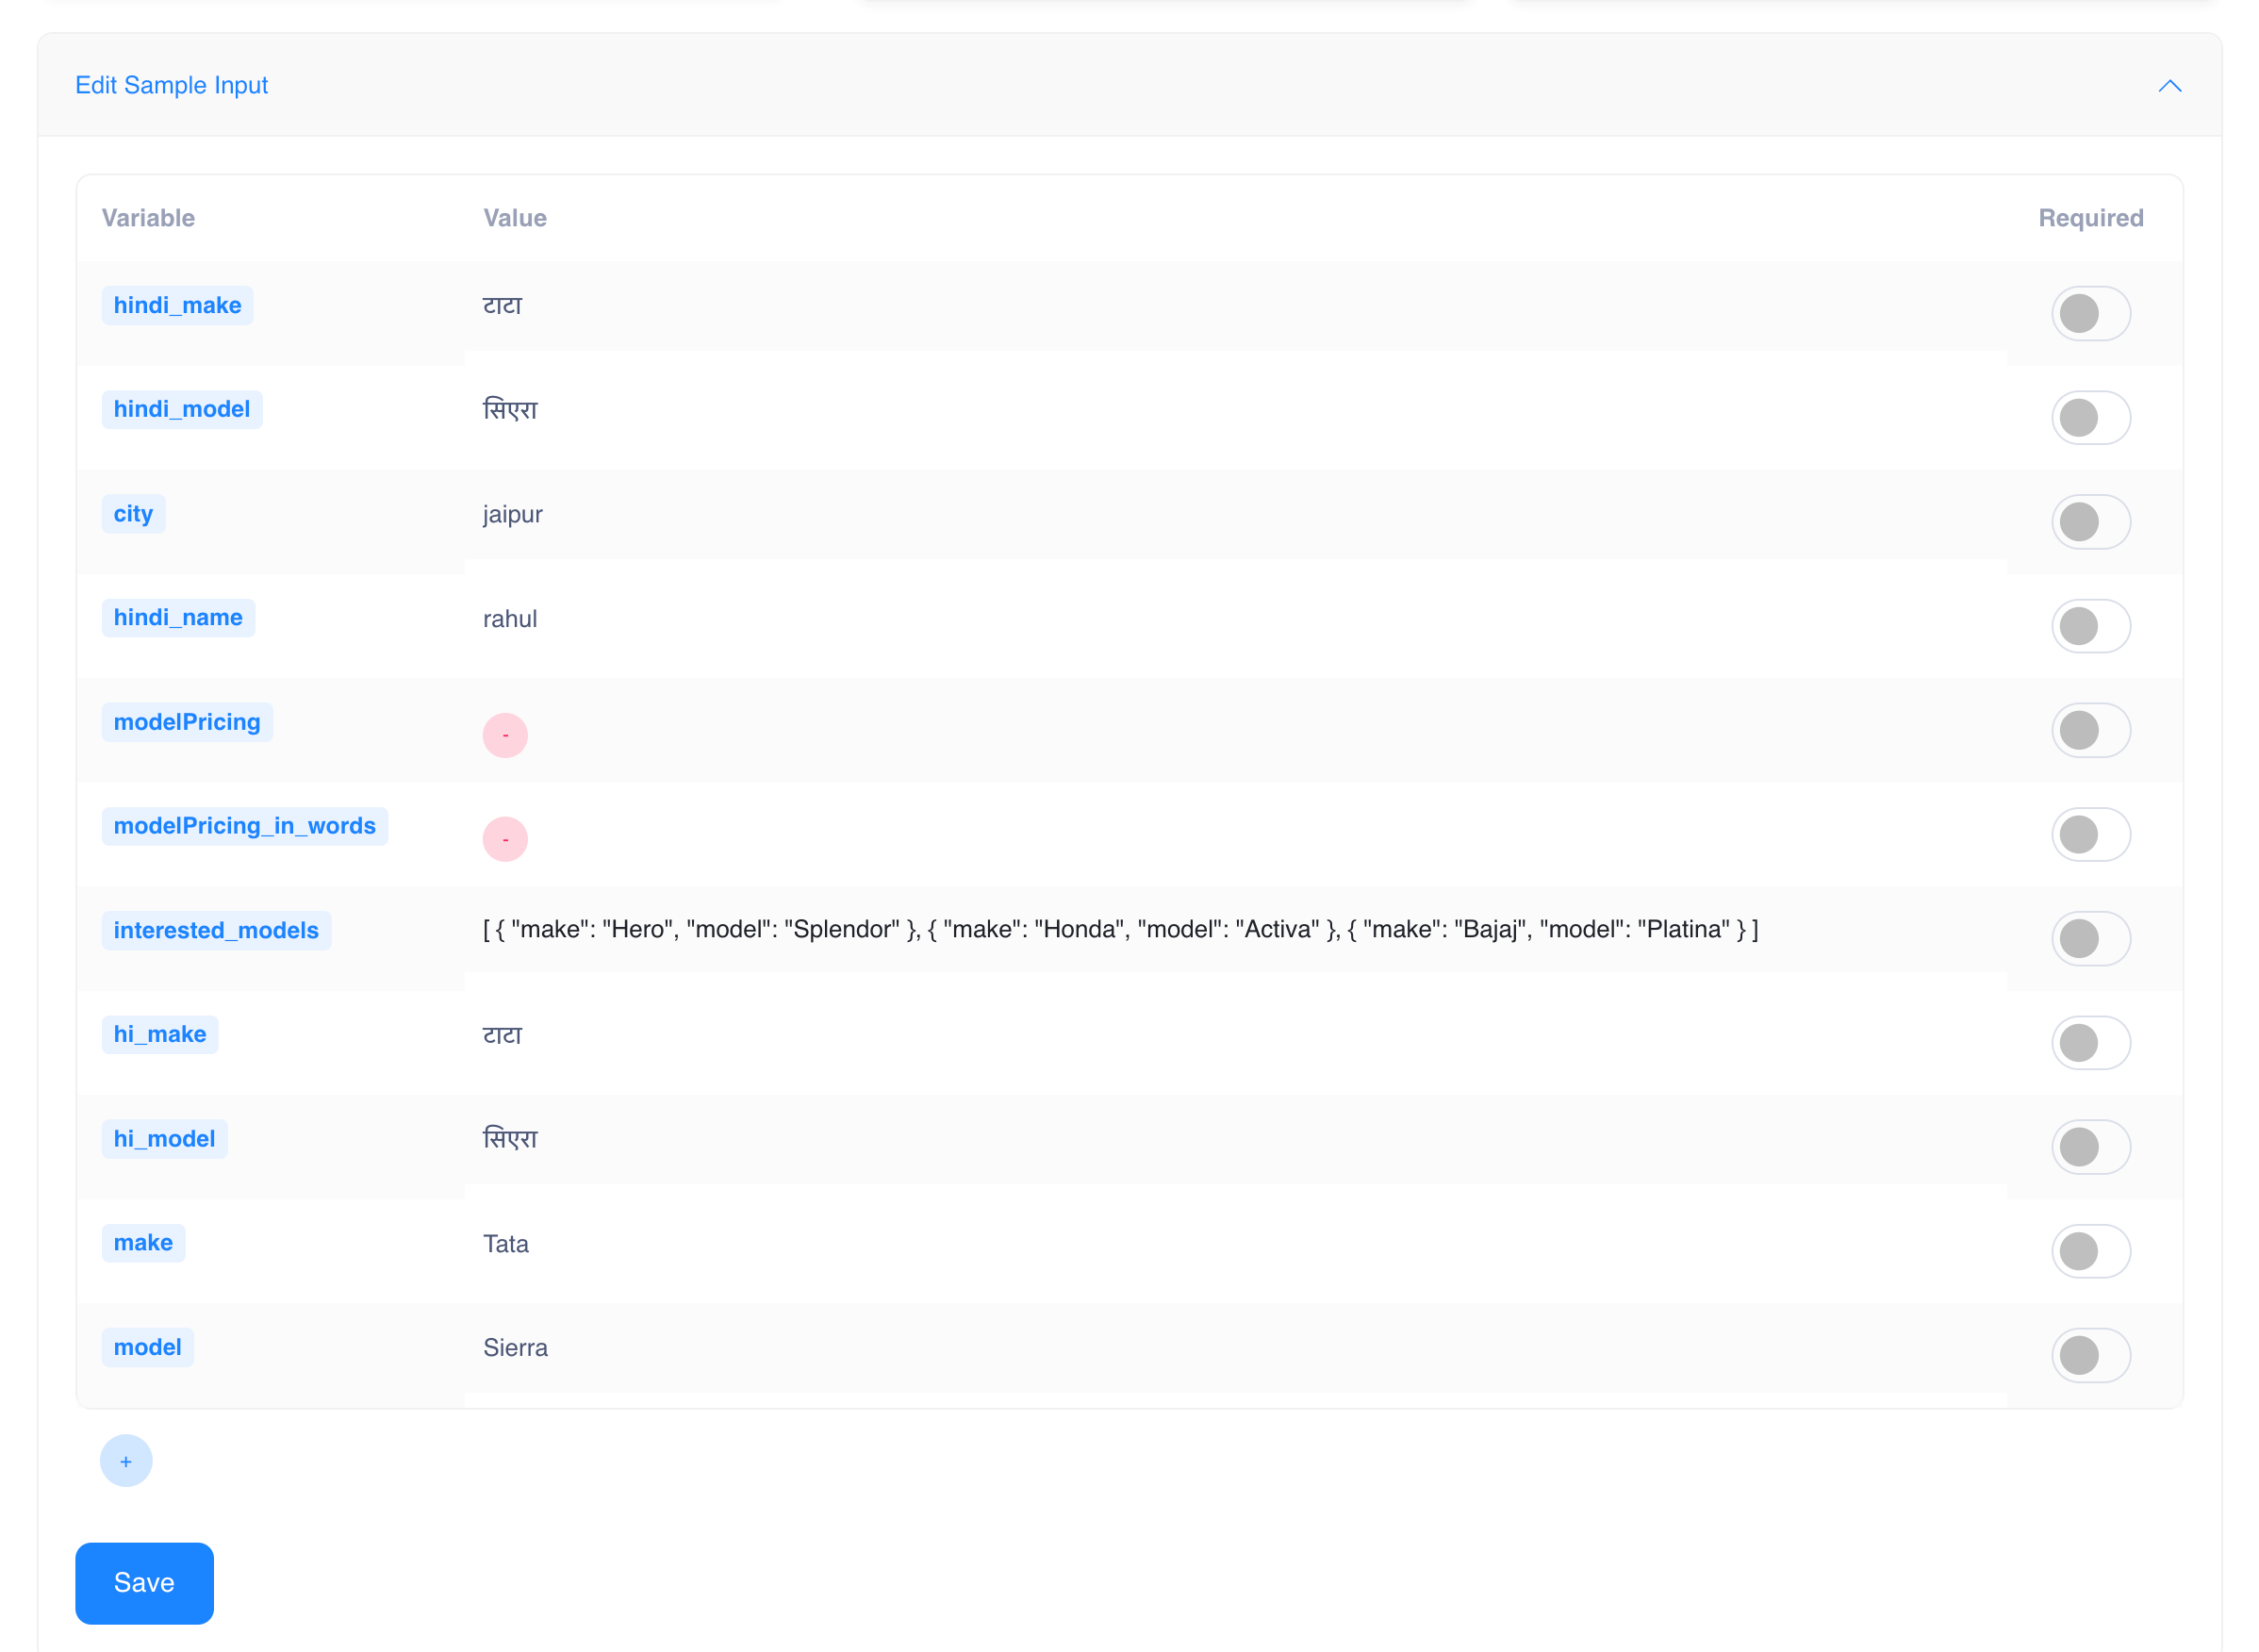
Step 5: Add New Variables
If your prompt requires additional variables:- Click the + button at the bottom of the variable table.
- The Add New Variable popup will appear.\
Variable Key
Example:Variable Value
Example: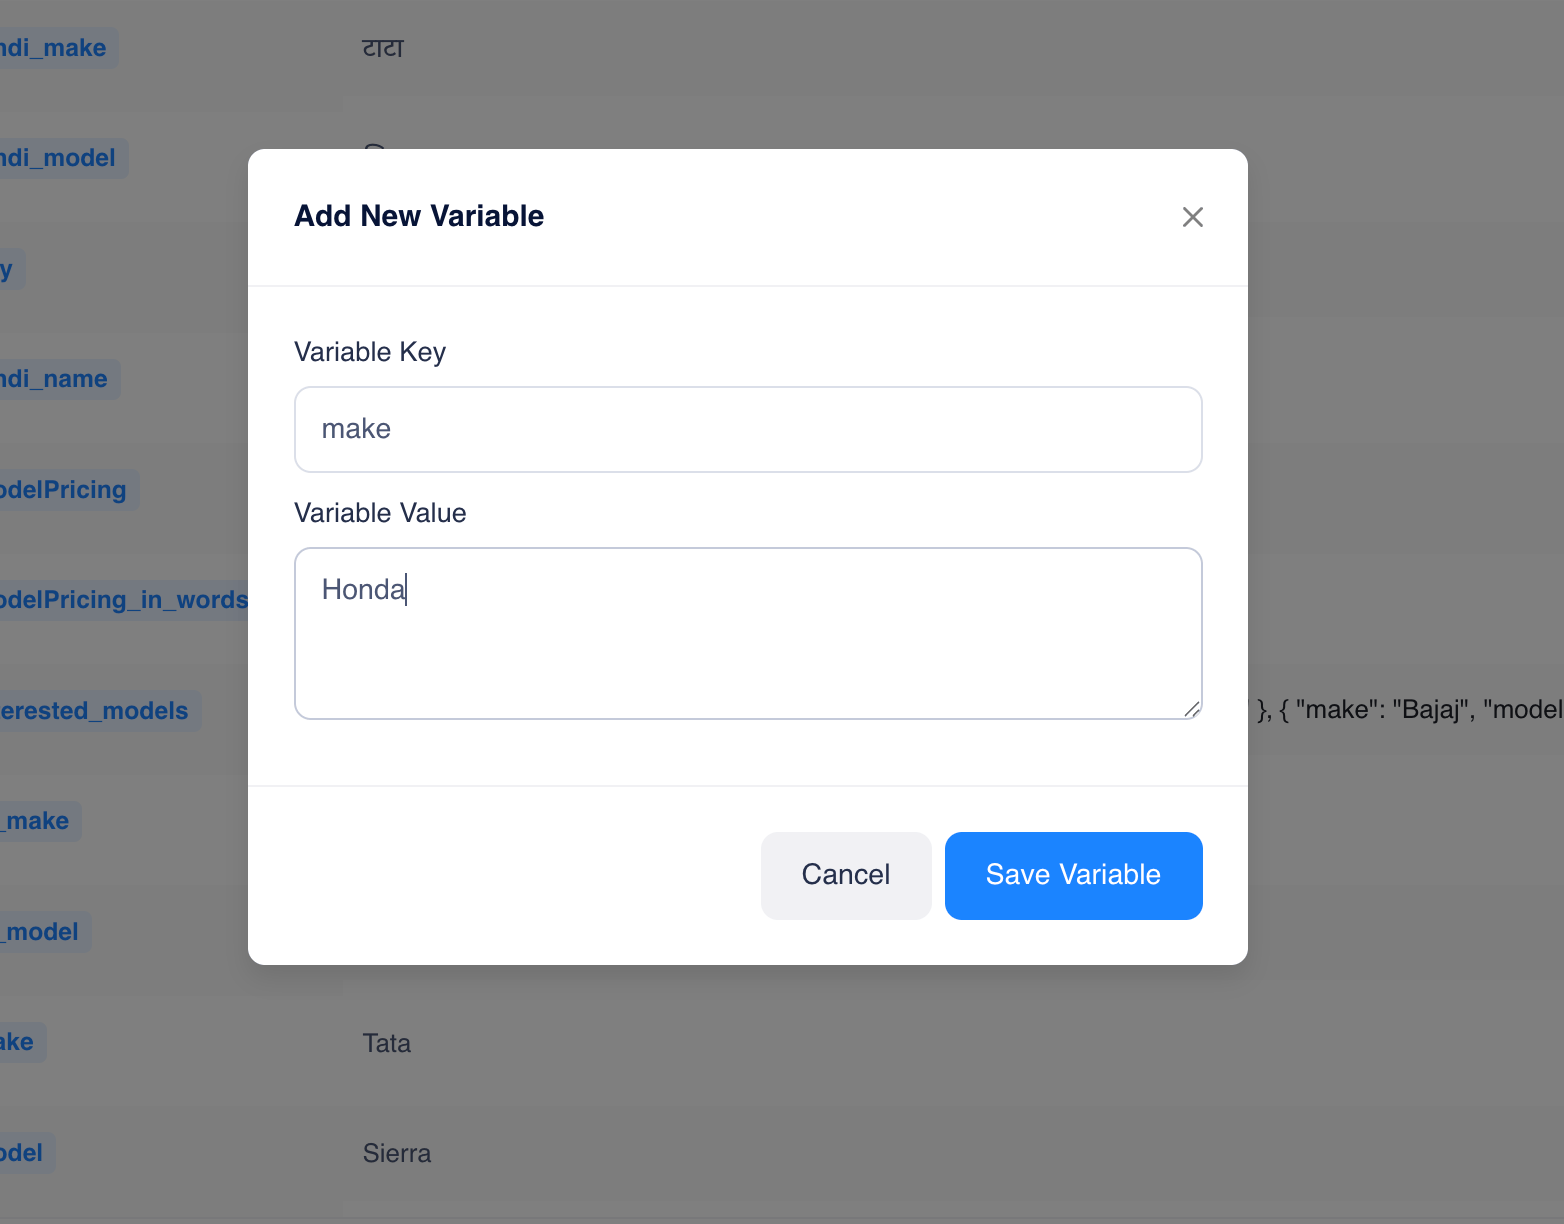
Step 6: Supported Variable Types
Uservox supports:String
Number
Boolean
JSON
Array
Step 7: Save Variables
After updating variables: Click Save This stores the test configuration and makes it available for the next simulation run.Step 8: Start Simulation
- Click the microphone button.
- Start speaking to the agent.
- Follow the conversation naturally.
- Observe responses in the Conversation panel.